*click on the pictures to see them larger*
I hear that people really like to see the painting process and so I was planning to show more of that next time I did an Illustration Friday picture. I was also just invited to join a Flickr group called
Art Recipes. This group shows final artwork with links to pictures of the process, so it's good timing. So I'm warning you - it's a bit of a long post!
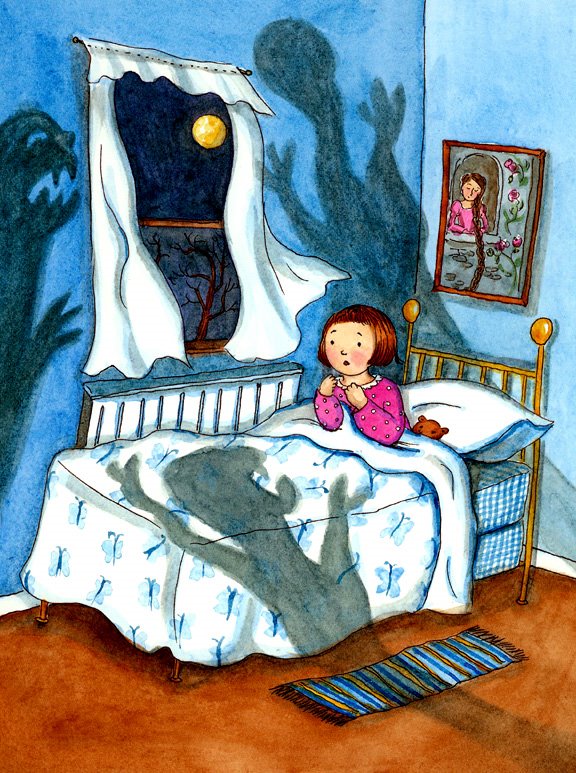
This picture was for the
Illustration Friday topic "monster" and I started out with some monster sketches. As usual I tend to use the IF topics to create children's illustrations, so this developed into the idea of the monster in the closet or under the bed. And I thought back and remembered getting spooked at night in bed from a combination of shadows and imagination. I remember climbing out of bed to close the closet door. Then deciding that the unknown was worse, and climbing out to open the closet door again. So that was the inspiration for this picture.
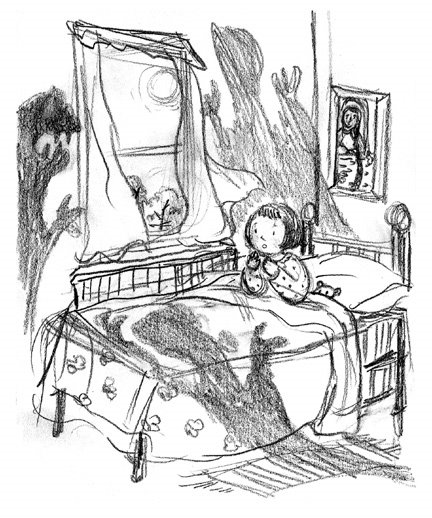
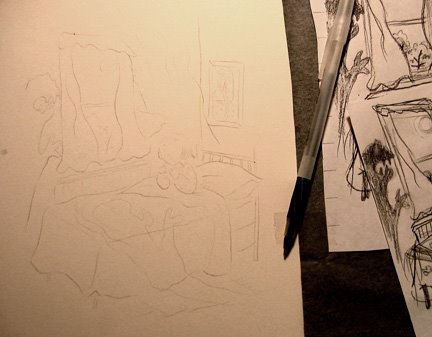
This is the initial sketch. I often do the sketch quite quickly and don't refine it too much, I save that for the final artwork. Sometimes things that look fine in daylight become spooky at night, so I added a few things to suggest that. The tree branches are crooked, the curtains wave eerily, even the Rapunzel painting suddenly seems worrisome - does it hurt when the prince climbs up her hair? I wanted to use cool colours, but still have it look like a little girl's room so I added details such as the butterflies on the bedspread.

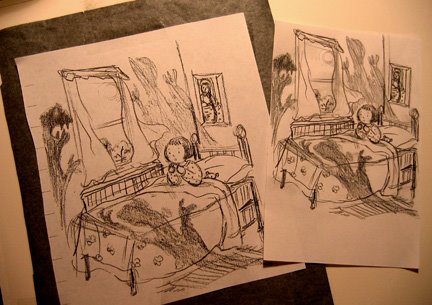
I photocopy the sketch before transferring it to the watercolour block, and at this time I can scale it up if I want to. I like to draw at a smaller scale and not worry too much about the little details. I use transfer paper, tape that to the block with the photocopied sketch on top and I trace it with a ballpoint pen with a fine point.

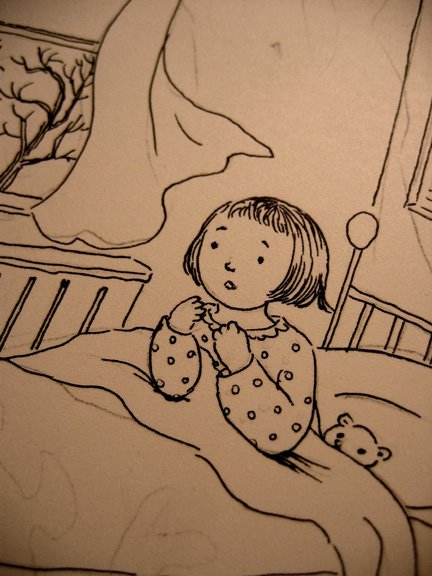
The next picture shows the result. While I'm tracing I refine the sketch a bit, and leave out details I don't want anymore.

Then I ink the lines using a waterproof felt tip pen. There's a little more refinement done at this stage too. I measured out the page size I wanted, which was 6" x 8", added a .5 inch bleed allowance and taped the outline so that I would end up with a clean border.

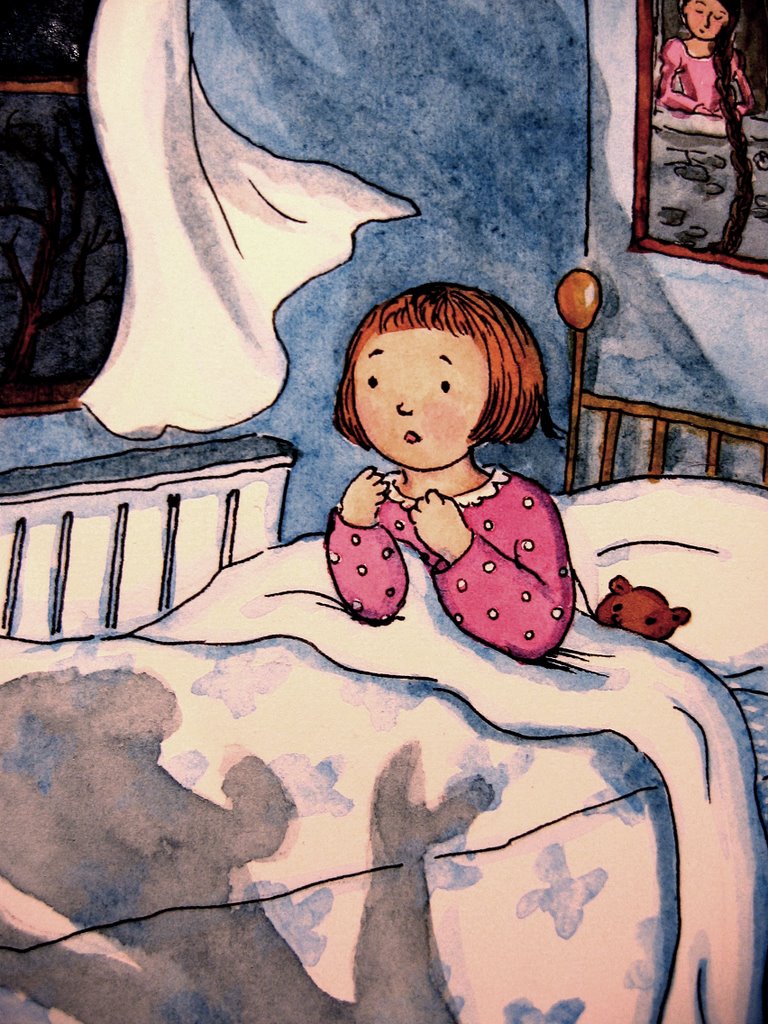
I wait a couple of hours before erasing the graphite lines and starting to watercolour, otherwise the ink can smudge. The first layer of watercolour is fairly light with only a little bit of shading. It's always possible to go darker later, and I like to layer up the colour gradually. At this stage as you can see it looks like daylight, the colours are very light and the picture looks a bit flat.

Then I start adding in more shadows, darker colours, details and patterns.

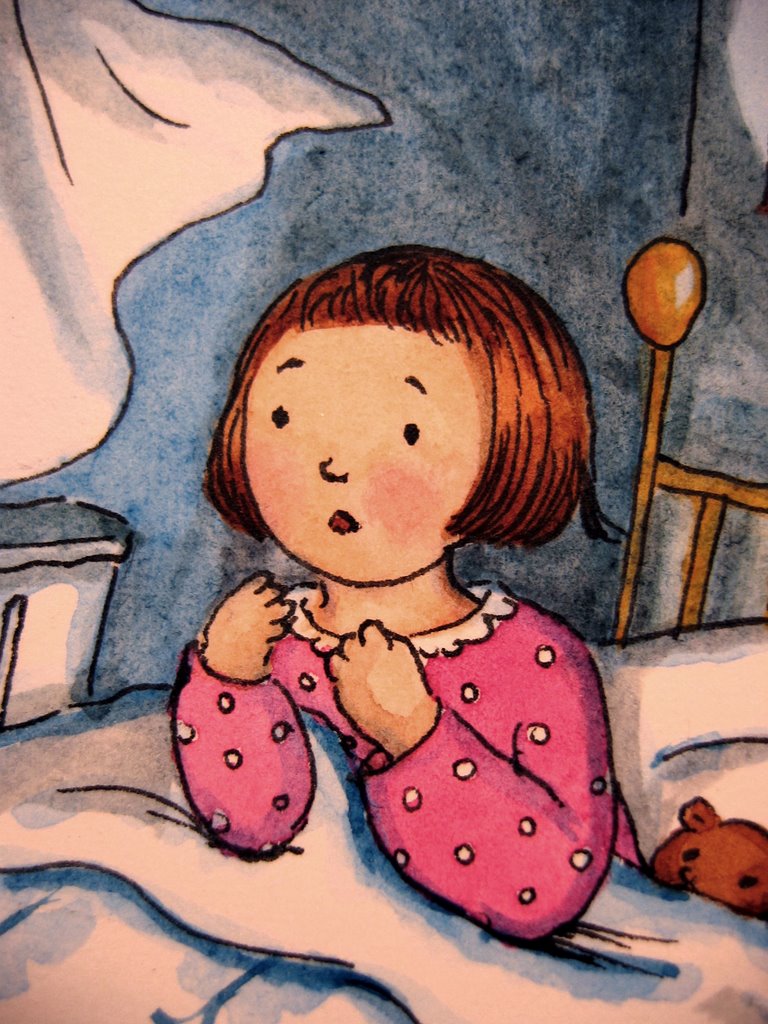
This is the final stage - I look at the whole picture and add a few more shadows and details here and there. For example, compare the girl's hair in the following picture and the previous one.

Then my favourite part - I lift up the masking tape to show the final illustration with a nice clean border!
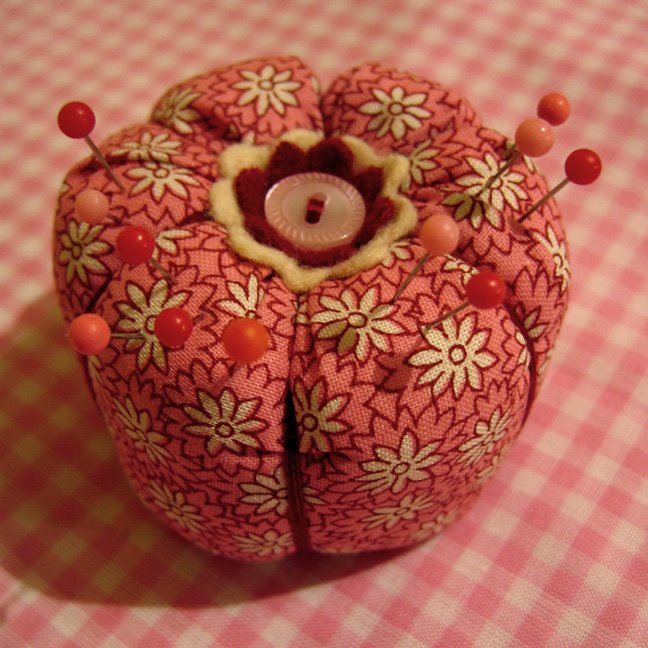
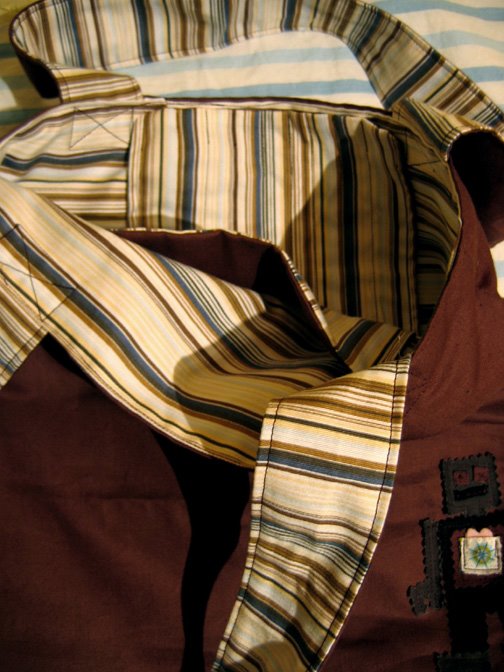
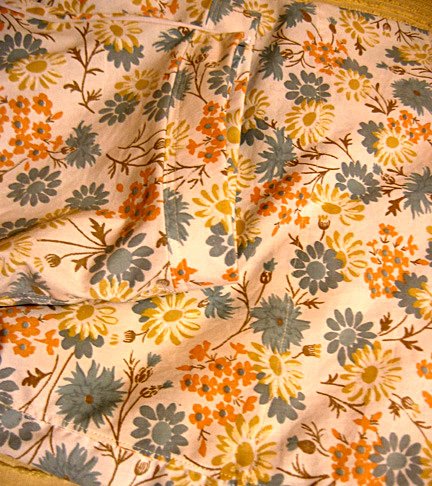
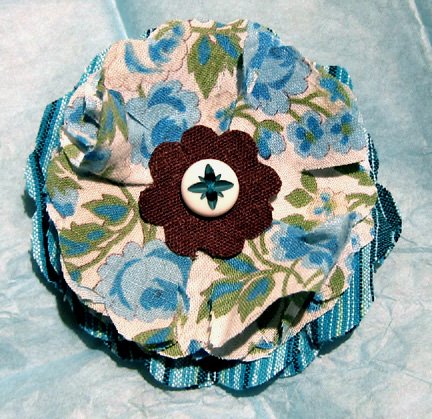
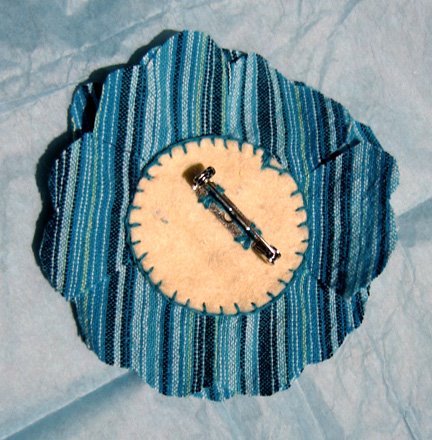
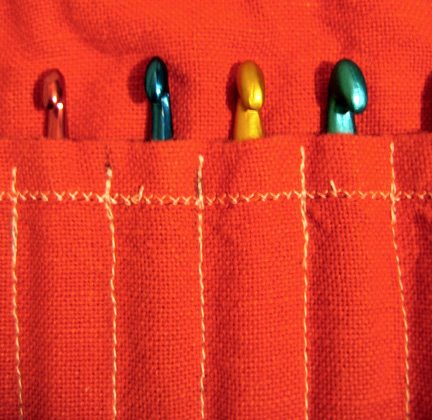
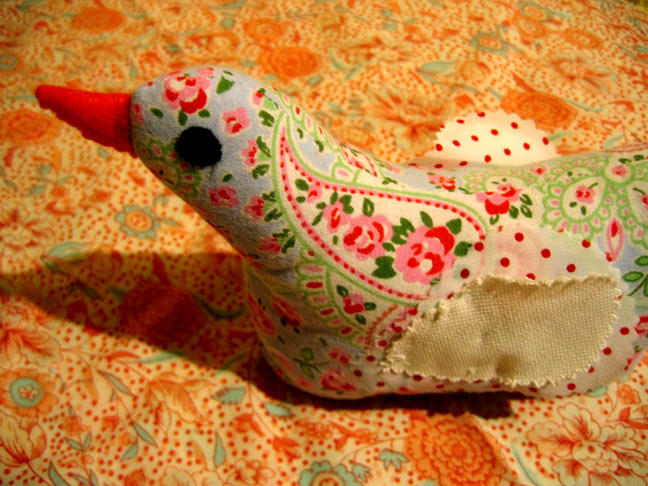 A while ago Samantha from plump pudding offered up some of her charming fabric chickens. She sent me a lovely package, in a sewn blue striped bag. The chicken, of course, which is made from really pretty fabrics, and a soft little purple gingham pincushion, and a handy tissue cosy which I immediately tucked into my bag.
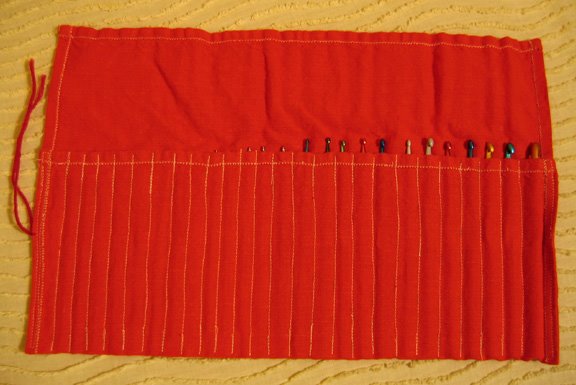
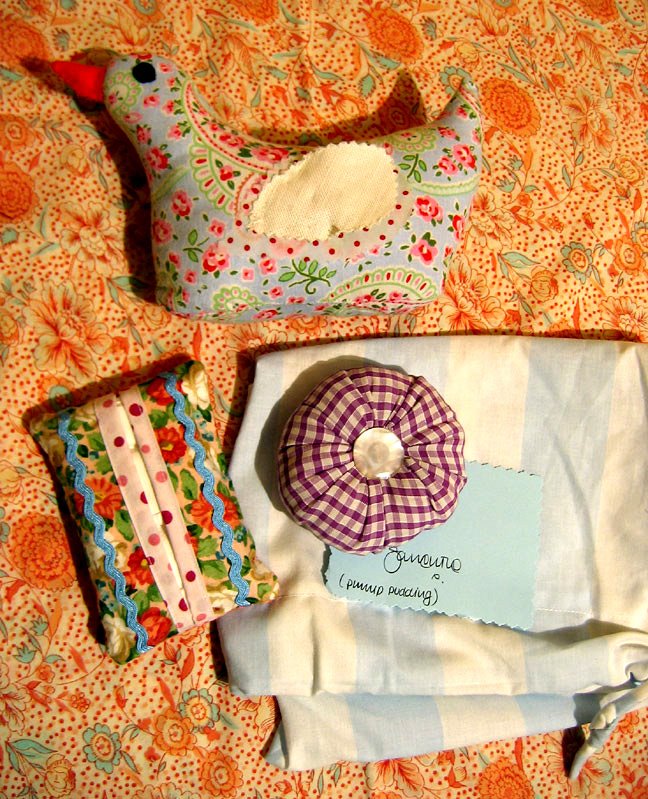 I am catching up with my swaps, and posting my swaps, and tonight I finally finished a package for Samantha. It will be in the post as of tomorrow for sure! Obviously I will have to keep the contents a surprise for now. I don't always follow up on swaps that I've sent that had to be kept secret at the time, but I will mention that the prize for answering my quiz was the needle book at the top of the post, it went to Cathy and it has finally arrived. I've had bad mail luck lately and it was chewed by a dog first!