 *click on the pictures to see them larger*
I hear that people really like to see the painting process and so I was planning to show more of that next time I did an Illustration Friday picture. I was also just invited to join a Flickr group called Art Recipes. This group shows final artwork with links to pictures of the process, so it's good timing. So I'm warning you - it's a bit of a long post!
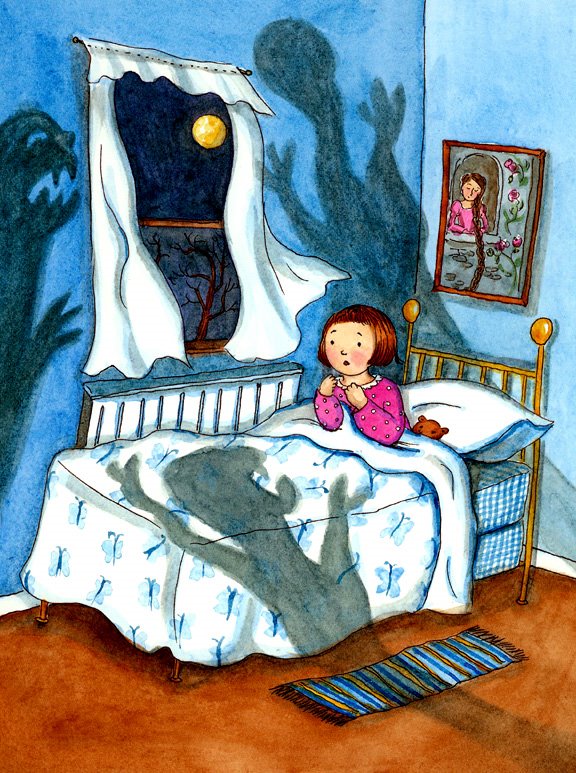
This picture was for the Illustration Friday topic "monster" and I started out with some monster sketches. As usual I tend to use the IF topics to create children's illustrations, so this developed into the idea of the monster in the closet or under the bed. And I thought back and remembered getting spooked at night in bed from a combination of shadows and imagination. I remember climbing out of bed to close the closet door. Then deciding that the unknown was worse, and climbing out to open the closet door again. So that was the inspiration for this picture.
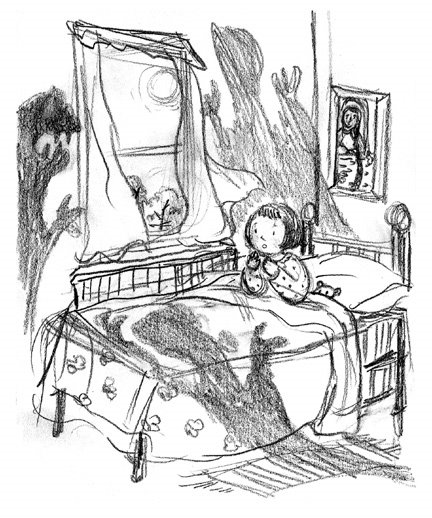
This is the initial sketch. I often do the sketch quite quickly and don't refine it too much, I save that for the final artwork. Sometimes things that look fine in daylight become spooky at night, so I added a few things to suggest that. The tree branches are crooked, the curtains wave eerily, even the Rapunzel painting suddenly seems worrisome - does it hurt when the prince climbs up her hair? I wanted to use cool colours, but still have it look like a little girl's room so I added details such as the butterflies on the bedspread.
 I photocopy the sketch before transferring it to the watercolour block, and at this time I can scale it up if I want to. I like to draw at a smaller scale and not worry too much about the little details. I use transfer paper, tape that to the block with the photocopied sketch on top and I trace it with a ballpoint pen with a fine point.
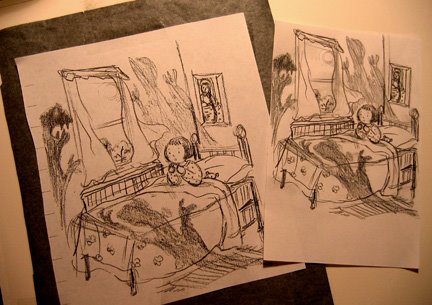 The next picture shows the result. While I'm tracing I refine the sketch a bit, and leave out details I don't want anymore.
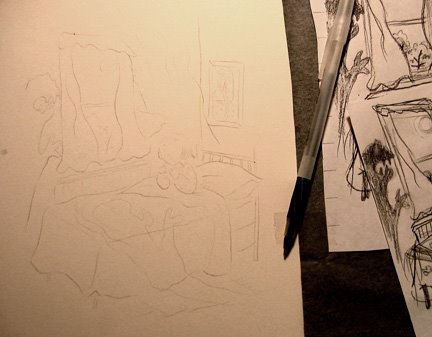 Then I ink the lines using a waterproof felt tip pen. There's a little more refinement done at this stage too. I measured out the page size I wanted, which was 6" x 8", added a .5 inch bleed allowance and taped the outline so that I would end up with a clean border.
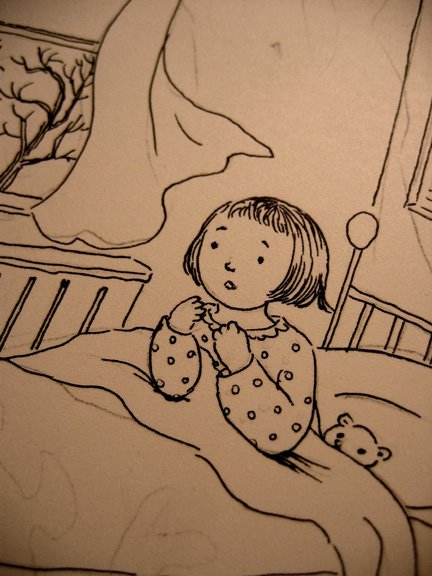 I wait a couple of hours before erasing the graphite lines and starting to watercolour, otherwise the ink can smudge. The first layer of watercolour is fairly light with only a little bit of shading. It's always possible to go darker later, and I like to layer up the colour gradually. At this stage as you can see it looks like daylight, the colours are very light and the picture looks a bit flat.
 Then I start adding in more shadows, darker colours, details and patterns.
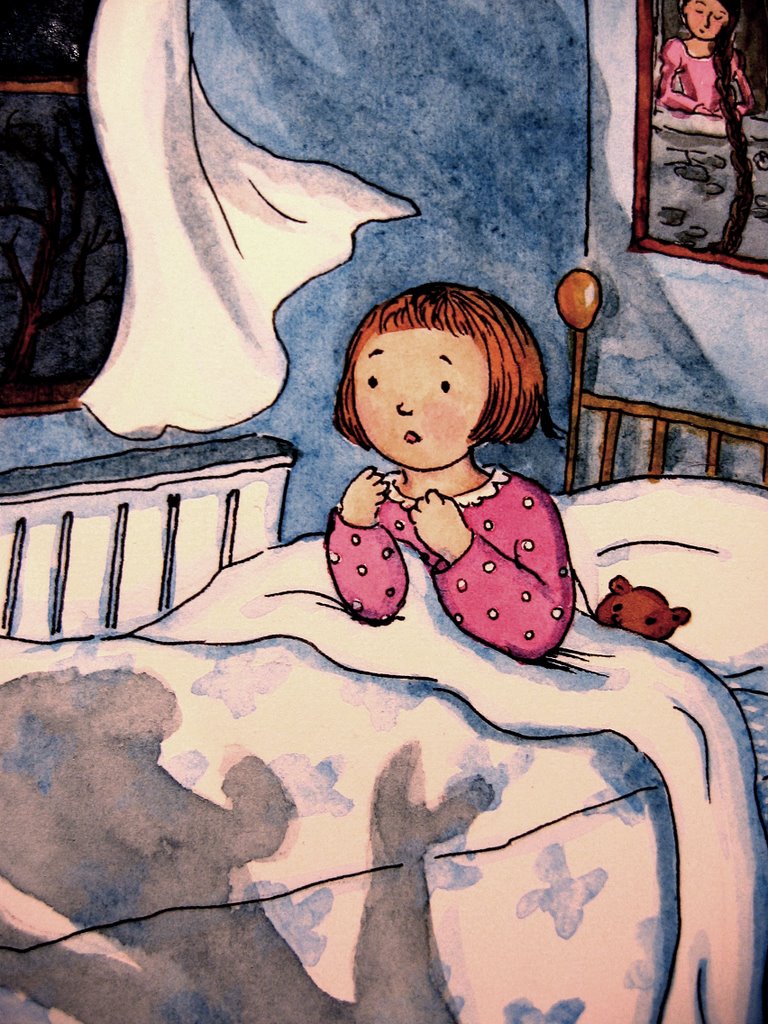 This is the final stage - I look at the whole picture and add a few more shadows and details here and there. For example, compare the girl's hair in the following picture and the previous one.
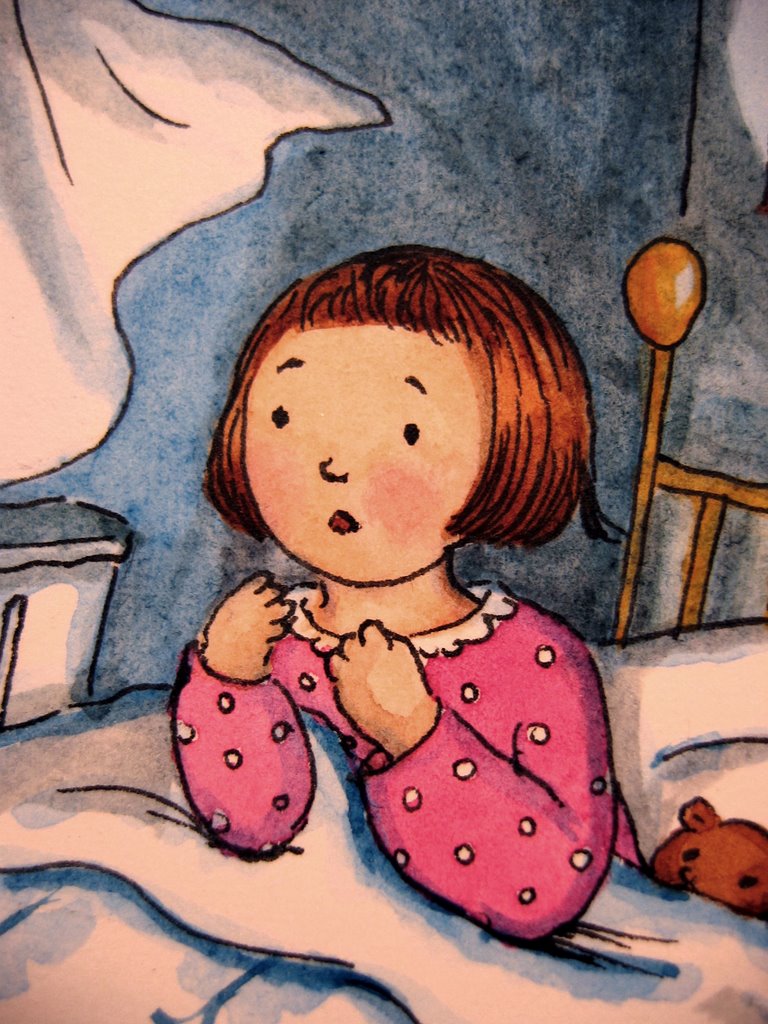 Then my favourite part - I lift up the masking tape to show the final illustration with a nice clean border!
This is so sweet. Thanks for the how-tos. Always nice to understand how an artist created their piece.
ReplyDeleteShe is sweet & I love her room. You really feel like you are there. EXCELLENT!
Smooch,
The Tart
Stop by... I have a poem for her ; )
What a charming beautiful illo!! Love it!
ReplyDeleteIt was fantastic to see the work in process. I love your illustrations, and it was fascinating to see how they come to life. Thankyou.
ReplyDeleteWhat a great post! This is the art recipe I have pictured in my mind right from the start. Thank you very much for putting it on view. I will post on your recipe in Art Recipes Blog anytime soon.
ReplyDeleteThanks for the details on your process. I like the piece a lot. Shadows can hold greater fear than what's real.
ReplyDeleteI saw monster shadows on my walls at night once when I was a little girl. I was sick with a fever, I told my mom that there was a jungle in my room! Great picture! ^___^
ReplyDeleteVery cute. Thanks for sharing the process. I'm always impressed with people who can make watercolor behave itself.
ReplyDeleteBeautiful Image. Nice character design, too. Thanks for sharing the process.
ReplyDeleteThanks for sharing.My daughter loves to paint but is always daunted by the big white canvas.This will be a great technique for her!
ReplyDeleteI loved seeing your process and great illustration too!
ReplyDeleteThanks Claire for sharing the step by step. I also learned something new and will try using the transfer paper.
ReplyDeleteGreat illustration!
You hit many children's fear at nighttime, and you use your effect very talented. Thanks for your showing how to do it - great illo.
ReplyDeleteVery nice. Thanks for sharing your process. It is very insightful.
ReplyDeleteLove seeing the process.
ReplyDeleteGreat illo. Cute and scary.
love
i completely understand the pleasure you get from lifting the tape to see clean lines! it is such a gratifying experience!
ReplyDeletevery cute and very interesting!
ReplyDelete;)
Just to see the illo was great, but realized that you have included the process... wow! Thanks, truly.
ReplyDeleteI love your work.
Hello. Your illustration is very nice, but your initial sketch is wonderful - it looks full of energy and creativity. Thanks for sharing your artwork's progress also, it was most enjoyable.
ReplyDeleteBuster.
I absolutely adore it! Great work, be proud of yourself! :-)
ReplyDeleteBeautiful job - I love hearing about your process. It's a great solution to the topic, too.
ReplyDeleteWonderful in every way! It's so great to see your process. What a great piece - love the little girl's expression and the spooky shadows! Brilliant!!
ReplyDeleteI love it! She looks so sweet. Thank you for sharing your process. It's wonderful to see how an illustration like this comes to life.
ReplyDeleteI'm really grateful for your perfectly detailed demonstration. It's just what I needed to see.
ReplyDeleteAnd the finished product is delightfully scary! I like your style very much.
Scary!
ReplyDeleteAlways great to see the steps in the process. Great piece!
It is very interesting to see your process. I'm studying book publishing now and we've talked a lot about children's illustrators. Very cool to see someone at work doing it.
ReplyDeleteWhat an excellent submission!! I love your style of illustrating and it is interesting to see the process. I felt that way alot as a little girl! Very nice!
ReplyDeleteThis is really great Claire! I love the illustration, and it was interesting to see your process.
ReplyDeletewww.wynlen.no
Lovely, very charming. Thank you for sharing :)
ReplyDeletethat was such a beautiful post! thank you for sharing your process...it's an interesting process from start to finish...and I love the end result! :)
ReplyDeleteThank you so much for sharing your illustration process. I thoroughly enjoyed it! Wonderful work!
ReplyDeleteBeautiful sketches and finished piece. I especially like the vingette and thank you for sharing the process.
ReplyDelete